Erez Marom Photography
The Good, the Bad and the Ugly of Aerial Photography - Part 4: Technique
Posted on 13th March, 2017 - Back to Blog Listings
In the previous article in this series, I talked about the equipment one might use for aerial photography. So what about technique, and especially camera settings? What should you consider when shooting from the air?
The important thing to remember here is that you’re shooting from a moving, vibrating aircraft instead of from stable ground. This simply means that in order to keep your shots sharp, you’ll need to use a high shutter speed. Remember that the compensation mechanisms in stabilized lenses are meant to deal with human movement, not high-frequency vibration, and will thus offer little help. Same goes for your own hands’ stability: even if you’re rock solid, the aircraft is not, and you should always bear that in mind or suffer the consequences (as I unfortunately have in the past).

Depending on the angle of view, I’d recommend shooting at least 1/400th of a second to make sure the shot is sharp enough, preferably even faster, and faster still if the focal length is long. When shooting from a plane, expect to need even faster shutter speeds, as wind can often move the lens and even change the zoom settings, as it sucks the lens out of the window. To keep your shutter speed in check, don’t be afraid to use a higher ISO setting. I frequently use ISO 400, 800 and when it’s darker even 1600 and 3200. Having a bit more noise and less dynamic range is a much better alternative to having a blurred shot. You can also use relatively wide apertures, since the subject is far away and depth of field is therefore large.

While I talked about equipment in the last article, I left one piece of gear to this article, since I wanted to link it to exposure times: Gyroscopes. These are contraptions which use rotational inertia to counter movement and vibrations, allowing the photographer to use much lower ISO values and longer exposure times while maintaining stability and sharpness. Unfortunately, they are large, heavy and very expensive, which leave them out as an option for the casual aerial shooter such as myself and most photographers with me. I personally don’t have any practical experience with gyros, but hopefully I'll get to try shooting with one in the future.
Another point on technique: it’s very beneficial to shoot in fast-continuous mode. Even if exposure times are high, you never know when the vibrations take their toll on camera stability. Shooting the same image 2 or 3 times will significantly increase the chances that at least one of the exposures turns out crisp.
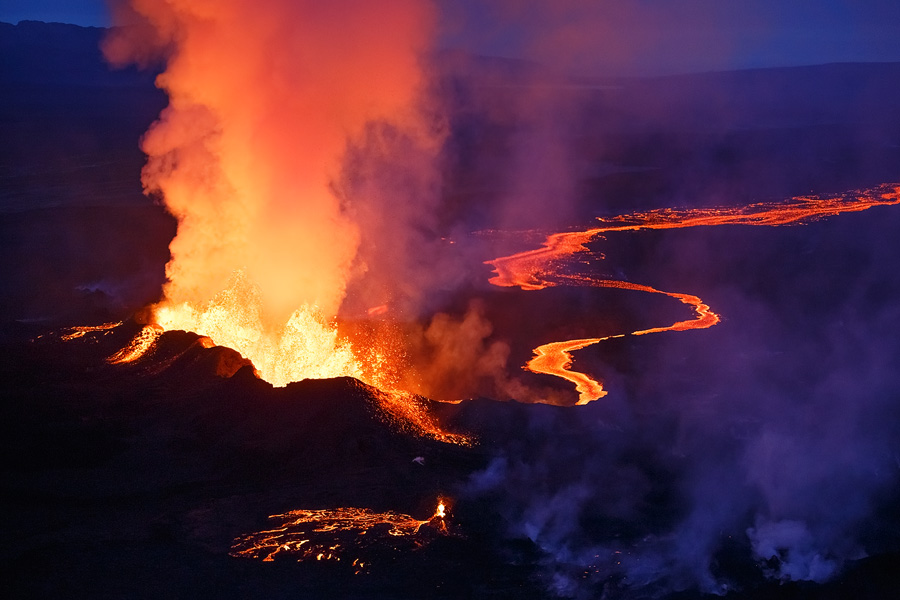
Another reason to shoot in continuous mode is HDR. HDR is surprisingly possible in aerial photography, and I use it in cases of extreme global contrast. Take for example the image below of the Holuhraun volcanic eruption in Iceland. Taken at night, the lava was quite a few stops brighter than its black surroundings, and so I used exposure bracketing together with continuous mode to quickly shoot two shots of the same scene with different exposure times, which were later combined using Photoshop.

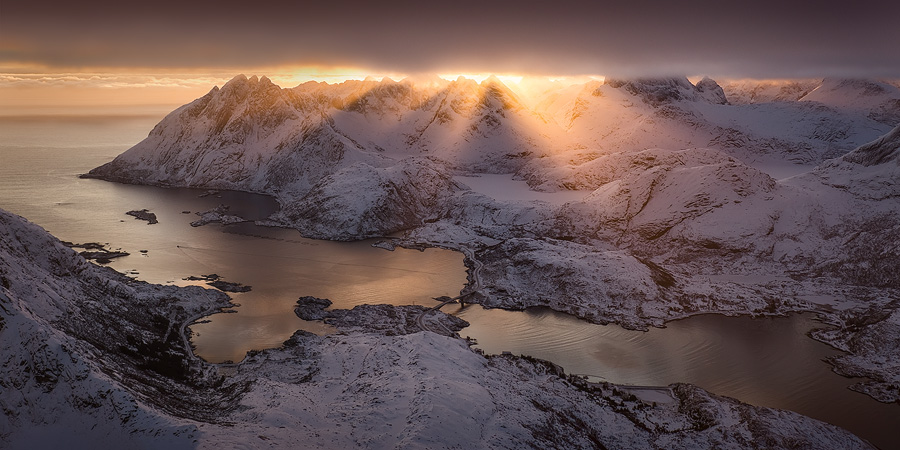
Another surprisingly possible technical feat is panoramas. As long as all parameters are in check, there's really no reason not to pano from the air, and one can really get interesting results that way. This is especially important due to aerial photography's equipment limitation – when you're stuck with one or two lenses, shooting a panorama allows you to achieve a wider angle of view.

In the next and final article in this series, I’ll survey several of my aerial shoots.
